A backyard gym floor should be built as a small exterior slab system—not as a patio with mats placed on top. The durable approach is a properly prepared and drained base, a reinforced concrete slab designed for the site and loads, and dense rubber flooring selected for each training zone.
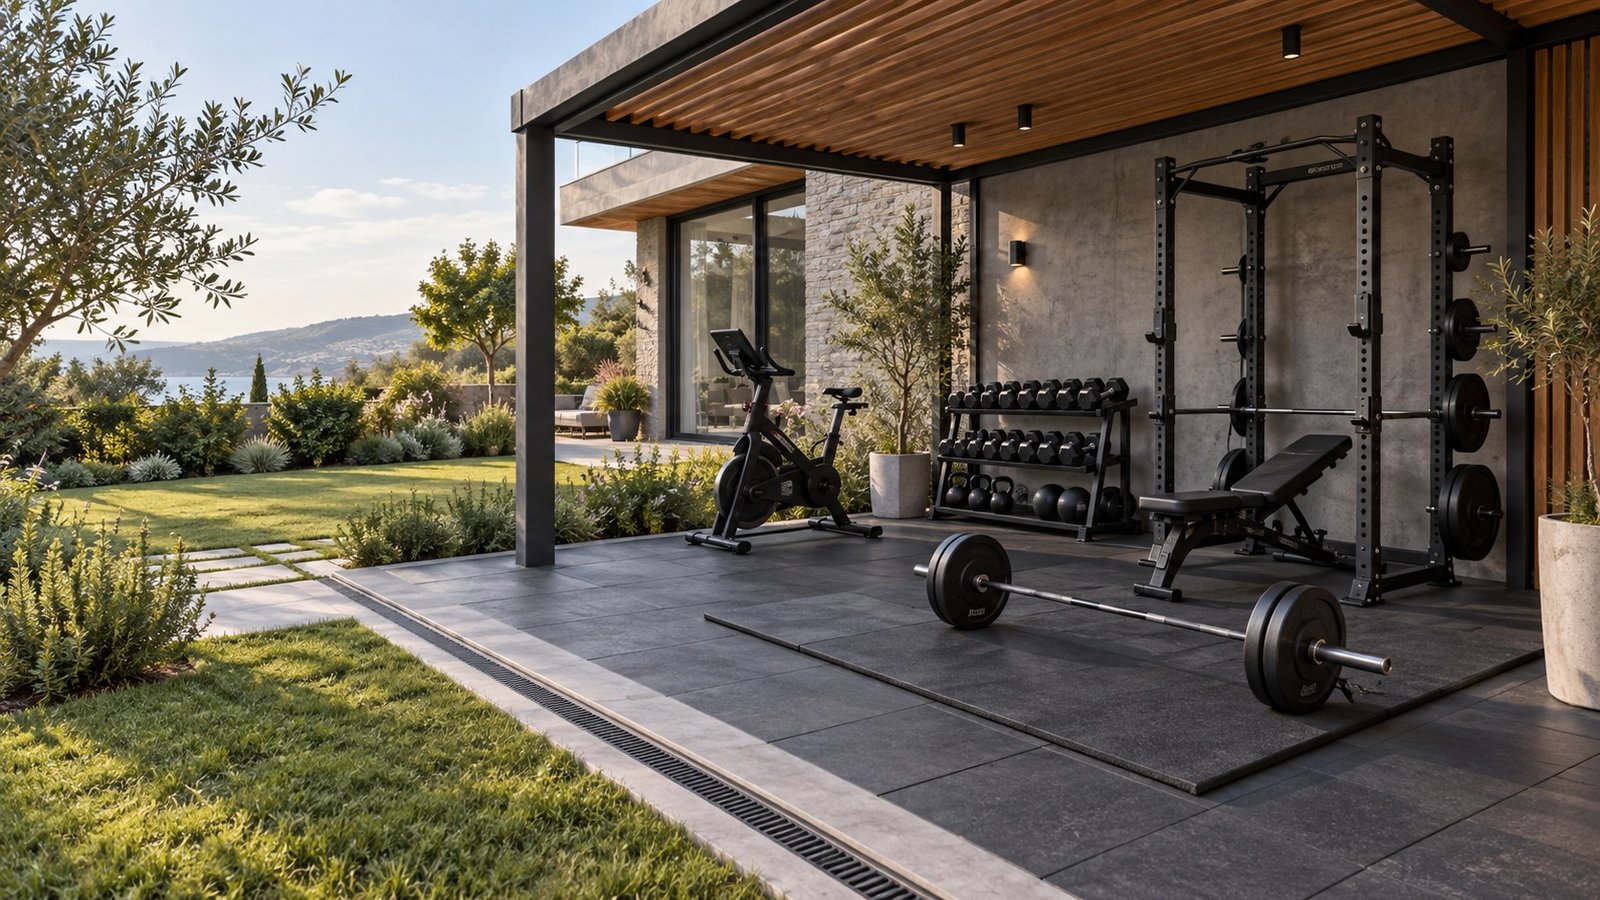
Rubber flooring improves grip, comfort, impact protection, and noise control. But long-term performance comes from what sits underneath it: soil evaluation, compaction, water management, slab design, joints, and curing. The details below are a planning guide, not a structural guarantee. Local building departments and licensed professionals should confirm the requirements for your property, climate, and equipment.
Evaluate the site before building
Start below grade. Remove organic material, roots, loose fill, and soft soil until the site reaches stable material. A surface that looks flat is not necessarily a surface that can support a loaded rack, cardio machine, roof posts, and repeated lifting without movement.
Bring in local professional review when the lot has expansive clay, poor drainage, a high water table, a slope, prior fill, roof posts, or an anchored rack. Soil support should be verified rather than guessed. If a roof structure or a detached gym transfers building loads to the ground, a licensed structural engineer should determine how those loads are carried to soil.
Build a compacted granular base
Over stable subgrade, use a well-graded, free-draining crushed-stone base compacted in lifts. The base creates a more uniform support layer and gives water a path away from the slab assembly. Do not simply spread stone over loose dirt and assume the concrete will solve the problem.
There is no universal base depth. It depends on soil conditions, drainage, climate, slab loads, and local code. The right question for a contractor is not “How much gravel do you usually use?” but “What does this site need for a stable, drained slab?”
Manage moisture below the slab
Use a vapor retarder when site conditions and the slab assembly require it. For U.S. projects, ASTM E1745-compliant material with a minimum thickness of 10 mil is a common specification for reducing vapor transmission and surviving installation. The seams, edges, penetrations, and transitions matter as much as the sheet itself.
Vapor retarder placement must match the concrete and flooring specification. It can be especially relevant where rubber is adhered, where the gym is enclosed, or where moisture-sensitive finishes are planned. A qualified installer should coordinate the sub-slab layers so the moisture-control detail does not compromise finishing or drainage.
Use a designed reinforced concrete slab
For a typical residential backyard gym, 4.5–6 inches of reinforced concrete is a useful planning range after the soil, equipment, rack, and roof loads are evaluated. A thin patio slab is not the right default for heavy machines, anchored racks, roof posts, or repeated barbell drops.
Reinforcement, concrete strength, edge details, anchor locations, and thickness should be chosen for the actual use. In freeze-thaw climates, air-entrained concrete and climate-specific durability details may be needed. When the slab supports structural posts or transfers building loads to soil, use a licensed structural engineer rather than relying on a generic patio detail.
Plan joints and cure the slab correctly
Concrete shrinks as it cures. Control joints create planned weak planes so cracking is guided into predictable locations; isolation joints separate the slab from walls, footings, columns, and other points of restraint. Joint layout is part of the slab design, not an optional finishing step.
Curing helps concrete develop the strength and surface durability it was designed to achieve. It commonly begins immediately after finishing and typically continues for three to seven days, depending on the specification and conditions. Do not install heavy equipment, anchors, or adhesive flooring before the slab is ready. A rushed floor can create problems that a thicker rubber mat cannot hide.
Choose rubber flooring by training zone
| Training zone | Recommended dense rubber flooring |
|---|---|
| Yoga, mobility, and light cardio | 5/16–3/8 inch dense rubber |
| Treadmills, bikes, and selectorized machines | 3/8–1/2 inch dense rubber |
| Dumbbells, kettlebells, and general strength work | 1/2–3/4 inch dense rubber |
| Deadlifts, powerlifting, and Olympic lifting | 3/4 inch or thicker rubber plus a dedicated lifting platform |
Thickness is not the only consideration. Density, construction, seam design, attachment method, concrete flatness, and expected drop height all matter. Instead of installing the thickest material everywhere, put the budget into a thicker dedicated drop zone or lifting platform where the impacts occur.
Drainage is part of the gym floor
Water must move away from both the gym and the home foundation. Plan the surface slope and, where the site needs it, a linear drain or perimeter drainage system. An open-sided covered gym is still an exterior environment: wind-driven rain, UV, condensation, and seasonal movement all belong in the plan.
Avoid trapping moisture under impermeable tiles, especially at edges and low points. And do not use artificial turf as the load-bearing surface below a heavy rack or lifting platform. Turf may work as a visual or conditioning-zone finish, but the rack and barbell area need a stable, designed support system below.
Common mistakes to avoid
- Rubber tiles directly on soil or sand
- Thin concrete over loose fill
- Building in the lowest part of the yard without drainage
- Soft EVA foam under heavy racks or free weights
- Skipping joints or curing
- Anchoring into immature or undersized concrete
- Assuming a pergola or detached gym is automatically permit-exempt
U.S. permits and professional review
Permit rules vary by state, county, and city. The International Residential Code is a framework, but local adoption and amendments govern the project in front of you. Check setbacks, zoning, permits, drainage, electrical requirements, wind and snow criteria, and inspections with your local building department before construction begins.
A permit exemption does not allow work that violates local code. That matters even more when a gym includes roof framing, electrical circuits, structural posts, drainage work, or an anchored rack.
Build the structure first, then finish the gym
For a high-quality backyard gym, invest first in soil preparation, drainage, and a properly designed concrete slab. Then use dense rubber flooring matched to each training zone—roughly 1/2–3/4 inch for general strength work, with a 3/4 inch or thicker dedicated lifting/drop zone for heavy barbell training.